Storage Sheds Direct - ShedsForLessDirect.com

  Home » Catalog » Large Storage Sheds & Buildings » Palram 6x12 Plastic Shed Kit w/ Skylight Roof & Floor (HG9612T) » Reviews

Shopping Cart Right
0 items
Bottom
Categories Right
Special Clearance Sales

Small Storage Sheds

Medium Storage Sheds

Large Storage Sheds

X-Large Utility Buildings

Vinyl Storage Sheds

Metal Storage Sheds

Plastic Storage Sheds

Wood Storage Sheds

DuraMax Vinyl Sheds

Arrow Outdoor Sheds

Lifetime Plastic Sheds

Suncast Resin Sheds

ShelterLogic Fabric Sheds

Best Barns Wood Sheds

Handy Home Sheds

Shed Accessories

Playground & Playsets

Carports & Patio Covers

Greenhouses

Bottom
Shop By Price Right
Bottom
Shop By Brand Right
Arrow Metal Shed Kits
Best Barn Shed Kits
DuraMax Storage Sheds
EZ-Fit Wood Sheds
Gazebo Penguin
Globel Steel Sheds
Handy Home Shed Kits
Keter Resin Sheds
Leisure Season Sheds
Lifetime Storage Sheds
Little Cottage Co
Palmako Log Sheds
Palram Structures
Rhino MDM Shelters
Rion Greenhouses
Rubbermaid Sheds
Shelter Logic Sheds
Sojag Structures
Suncast Storage Sheds
Swisher Shelters
Versatube Buildings
Yardistry Structures
Bottom
Most Popular Items Right
Lifetime 15x8 Plastic Garden Storage Shed Kit w/ Floor
Lifetime 8x12 Outdoor Storage Shed Kit w/ Floor
Lifetime 15x8 Plastic Storage Shed Kit w/ Double Doors
Lexington 10x14 Arrow Storage Shed Kit
Lifetime 8x10 Plastic Storage Shed Kit w/ Floor
Bottom
Customer Service Right
separator
Customer Service
Free Nationwide Shipping in 3-10 Days!
Awesome Deals & Industry Leading Service Since 2006!

5 Star Excellence award from Shopper Approved for collecting at least 100 5 star reviews

Customer Reviews
Bottom
Information Right
About Us
About Sheds
FAQ
Privacy Notice
Replacement Parts
Shed Buying Guide
Shed Reviews
Shipping & Returns
Site Map
Bottom
Safe Secure Shopping Right
separator
All Major Credit Cards Accepted OR Paypal - No Paypal Account Needed! - $100,000 Identity Protection Included!

BBB A+ Rating - Sheds For Less Direct


Now Offering Paypal Credit Pay Later!
Bottom
Palram 6x12 Plastic Shed Kit w/ Skylight Roof & Floor
[HG9612T]
$1799.99 $1449.95
separator
by G. von Tiesenhausen Date Added: Tuesday 17 May, 2022
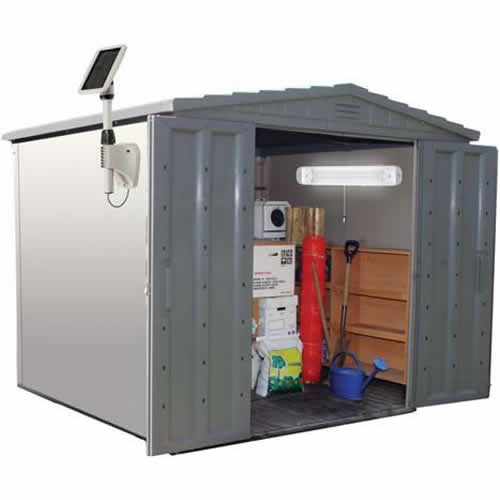
separator After moving from a large house with plenty of storage to a small house with very little, I needed a shed for all of my garden tools and machines. I purchased this 6' x 12' shed with some assembly required. It arrived very quickly and came in 2 boxes, one large, containing the walls, roofing panels, and floor, and one smaller, containing the metal pieces and screws. I found the instruction booklet, and my friend and I proceeded to assemble it.
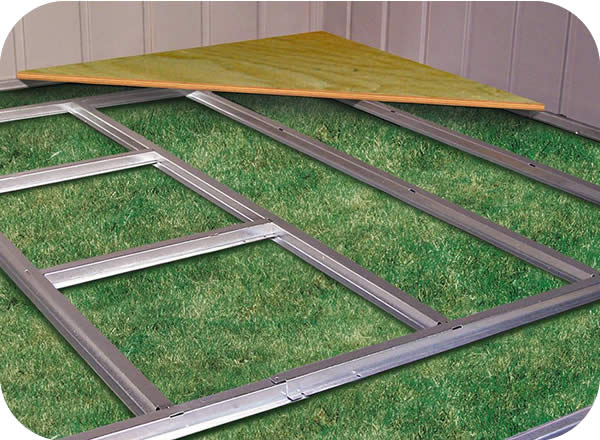
Step 1: Set aside two to three days of no rain and build a very flat and large platform onto which to mount your shed. I laid a foundation of concrete block and mounted 2x10s of treated lumber as a floor.
Step 2: Organize all parts onto a large, flat area by sorting according to each kind of part. Note: most parts have numbers that are very important. Some numbers are pressed into the metal, some are printed in totally faded paper labels, and the plastic panels have numbers that are huge, but very hard to read.
Step 3: Follow the sequence carefully. Not everything is intuitive, and not everything is included in the steps you need to take, so THINK at all times.
Step 4: Get a series of containers into which you separate all the screws. And DON"T lose any!
Step 5: As instructed, do the floor first, then the walls, and don't totally tighten the bolts just yet. Continue the assembly as per instructions, realizing that you may run out or screws. That's when you have to go to the hardware store or your saved stash of many screws and improvise.
Step 6: Since I assembled the shed next to the back of my garage at only 1-inch from the wall, I had to do some innovation regarding the insertion of the roof panels. A. The panels toward the garage wall can be inserted from the top, but you must attach the ribs at the same time. The first one was a trial, but after that one, the rest were more or less routine, though they required two people to do the insertion. B. Remember, you have the left rib attached to the roof panel as you slide the other side into the other rib. Aligning the rib with the bolt, while adjusting the panel was at first a bit tricky, but we got the flow of it.
Step 7: Everything is very floppy, but once it is all together, it becomes a bit less so.
Step 8: The two roof trusses are supposed to be attached to the roof ridge with a longer bolt. that will not be possible due to the fact that the nuts of the ribs where the trusses go protrude, not allowing the truss to be flush with the roof. Just slide the roof trusses up as high as you can and leave it as is. They should have provided two extra-long bolts for those trusses.
Step 9: Finally, assemble the doors. By now you will have run out of the proper screws. (Imagine if you ordered new ones and had to wait for them to arrive!) So, you "get" screws that are similar and go on. The door instructions are not very clear, but with patience, you will get it.
Step 10: Hanging the door to the frame of the building is easy enough, though one of the doors may not close very well. You may have to redrill the hinge holes and move the hinge over by about 0.2" to allow the door to close.
Step 11: Once all is "finished," you will notice that the floor panes will rise up at the seams, creating a stumbling opportunity. I put roofing nails into the floor along the seams at every 4" with perfect results.

All in all, give yourself plenty of time, find a GOOD friend, and keep your spirits up. The shed is ok for my needs, though the three other shed I purchased some 20 years ago were by far a better material and construction (honeycombed double walls and roof) and by far easier to assemble (two hours vs. 20 hours), but the prices have gone through the roof, and they are no longer affordable in the size I need. They have doubled in price!

Would I have bought it had I known the enormity of the project? Probably not, but now that it is done, I am happy it is there, and it does serve a much need purpose.

Rating: 3 of 5 Stars! [3 of 5 Stars!]
separator
separator
separator Back Write Review separator

Add to CartAdd to Cart